Historical Context
Satsuma Rebellion
The revolt of former samurai of the Satsuma domain, led by Saigō Takamori, against the Meiji government of Japan in 1877. It lasted from February to September and was fought across southern Kyushu, from the siege of Kumamoto Castle to the last stand at Shiroyama in Kagoshima.
1877 – 1877
Overview
The Meiji Restoration of 1868 was led largely by samurai from the south-western domains of Satsuma and Chōshū. Within a few years the new government turned against the class that had created it. It abolished the domains in 1871, introduced conscription for commoners in 1873, and in 1876 forbade the wearing of swords and converted the samurai's hereditary stipends into government bonds. Several short risings by discontented former samurai followed in western Japan in 1874 and 1876. All were quickly put down.
Satsuma, with its capital at Kagoshima, was the strongest center of discontent. Saigō Takamori, a hero of the Restoration, had returned there after leaving the government in 1873, and a network of private schools gave military training to his followers. In January 1877 the government tried to take away the munitions stored at Kagoshima. Students seized the arsenals, and in February Saigō led an army north, saying that he wished to question the government. Its strength at the start was somewhat over 12,000 men, and it grew as other former samurai joined.
The rebels besieged Kumamoto Castle from late February but could not take it. Government reinforcements under Yamagata Aritomo arrived by sea, and after weeks of fighting at Tabaruzaka in March they relieved the castle in April. The Satsuma army was pushed back through Hitoyoshi, Miyazaki and Nobeoka over the summer. In August Saigō broke out of an encirclement with a few hundred men and returned to Kagoshima. He and his last followers died there on 24 September at the Battle of Shiroyama.
Arms of the Rebellion
The war was not a contest between swords and guns. Satsuma had been one of the best-armed domains in Japan, with its own arsenal and shipyard, and Saigō's men marched with rifles and some artillery. Most of their firearms were muzzle-loaders such as the Pattern 1853 Enfield, together with a smaller number of breech-loaders. Their weakness was supply. They lost Kagoshima and its workshops to government landings early in the war, and as cartridges ran short they relied more on the Katana and on night attacks. Some units are reported to have used old matchlocks of the Tanegashima type.
The Imperial Japanese Army was only a few years old. Its infantry were conscripts, most of them peasants, and their standard rifle was the Snider-Enfield breech-loader. They were supported by modern field and mountain guns, by the Gatling gun, and by a navy that could move troops and shell the coast. The government also had the telegraph and steamships and could replace its losses. The conscripts were at first no match for the rebels hand to hand, and the government enlisted former samurai as armed police, some of whom fought with swords at Tabaruzaka. The arms of both sides are described under Japanese Arms & Weapons, and the warrior class itself under Samurai.
Why It Mattered
The rebellion was the most serious internal threat the Meiji government ever faced. The government sent some 60,000 men or more to Kyushu and lost about 6,000 killed. Rebel losses were at least as heavy, though the figures are uncertain.
The outcome settled the question of who would bear arms in modern Japan. An army of conscripts had beaten the country's best traditional fighters, and conscription was never seriously challenged again. Opposition to the government turned from armed revolt to political movements, though Ōkubo Toshimichi, the leading minister and a Satsuma man himself, was assassinated by sympathizers of the rebels in 1878. Saigō was pardoned in 1889 and came to be remembered as a model of loyalty and sincerity.
Battles & Operations
Weapons
-
Gatling gun
The Gatling gun was the first practical machine gun, a hand-cranked weapon with six to ten barrels rotating around a central shaft, each… Continued…
-
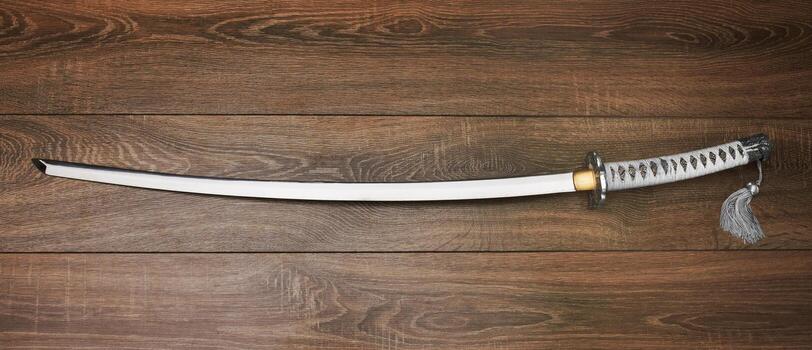
Katana
The katana is the curved, single-edged long sword of the samurai, worn edge-up through the sash and drawn in the same motion that cuts. Its… Continued…
-
Pattern 1853 Enfield
The Pattern 1853 Enfield was the British Army's .577 caliber percussion rifle-musket, adopted in 1853 and made at the Royal Small Arms… Continued…
-
Snider-Enfield
The Snider-Enfield was the British Army's first general-issue breech-loading rifle, adopted in 1866. It was made by fitting a side-hinged… Continued…
-
Tanegashima
Tanegashima is the Japanese name for the matchlock arquebus, taken from the island of Tanegashima where, by the traditional account… Continued…